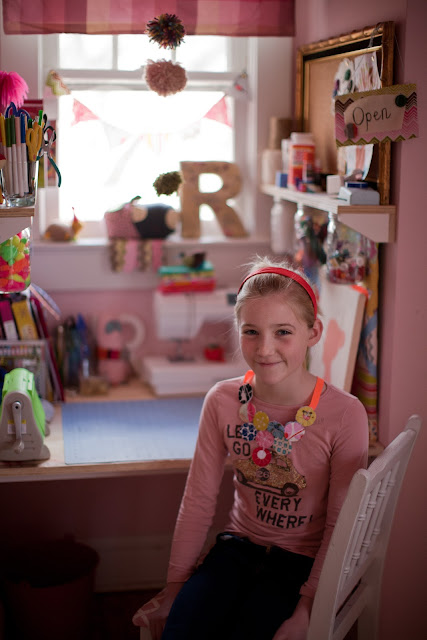
This necklace is really easy to make and would make a fun
gift for your bestie.
 |
| Photo by Kristen Gardner Photography |
Sewing machine
Scissors
Disappearing ink marker
Scraps of fun fabric
Stiff interfacing
24 inches of ribbon
bottle cap or something else circular to trace. I used a
medicine bottle cap (ask mom first)
Step 1
Trace 20 circles onto all different cotton fabrics. I cut 2
circles of each fabric.
Step 2
Trace 10 circles on a piece of stiff interfacing
Step 3
Cut everything out
Step 4
Place one piece of interfacing between 2 pieces of fabric,
kind of like a sandwich.
Step 5
Sew 6 lines on the circle in a snowflake type pattern. It
doesn’t have to be super neat so don’t worry.
Step 6
It should look like this
Step 7
Trim around each sewn circle so it looks nice and neat
Step 8
When you have sewn them all, lay them out how you want them
to look
Step 9
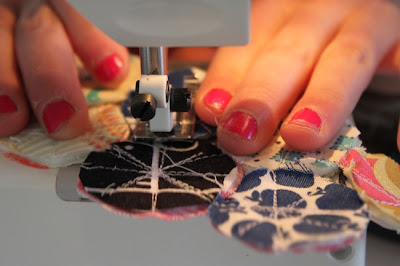
Sew the circles in a row, as you sew across one, quickly put
the next one under the machine and keep sewing. Go back and forth a couple of
times so it is really secure.
Step 10
Do this with the other rows . Its really easy!
Step 11
It should look like this
Step 12
Cut your ribbon into two 12 inch pieces. Sew each one onto
the back of the two top circles
Step 13
Cut all the annoying threads
All done!!!
Love Ruby xo


1 comments:
I want one! So cute. :)
Post a Comment